Making Your Own Paracord Lanyard

For many people, the word lanyard brings to mind a necklace seemingly made out of thick shoelaces and used to hold anything that’ll attach to a clip. Most of the time, attached to the clip on these lanyards will be an ID of some sort stuffed with some other papers or cash into a plastic sleeve. If that is the kind of lanyard that you are looking to make out of paracord, this isn’t the guide for you. However, if you’re looking to make a sturdy and thick lanyard that offers a dozen feet of paracord in an emergency and is more suitable to hold things like your keys, a belt for holding up your trousers, a pocket knife or anything else with an eyelet, this guide is an excellent starting point.
The weave design that will be used for this lanyard is called the King Cobra. For all intents and purposes, the King Cobra weave design is simply one cobra weave done over another. That should be promising news for any of you that have put together your own survival bracelet considering pretty much every paracord bracelet tutorial on the web uses the cobra design, though not every guide actually mentions the name of the weave itself.
Rather than continue to drone on, let’s jump right on in and get learning how to make a paracord lanyard:
- Mark the Paracord’s Halfway Point
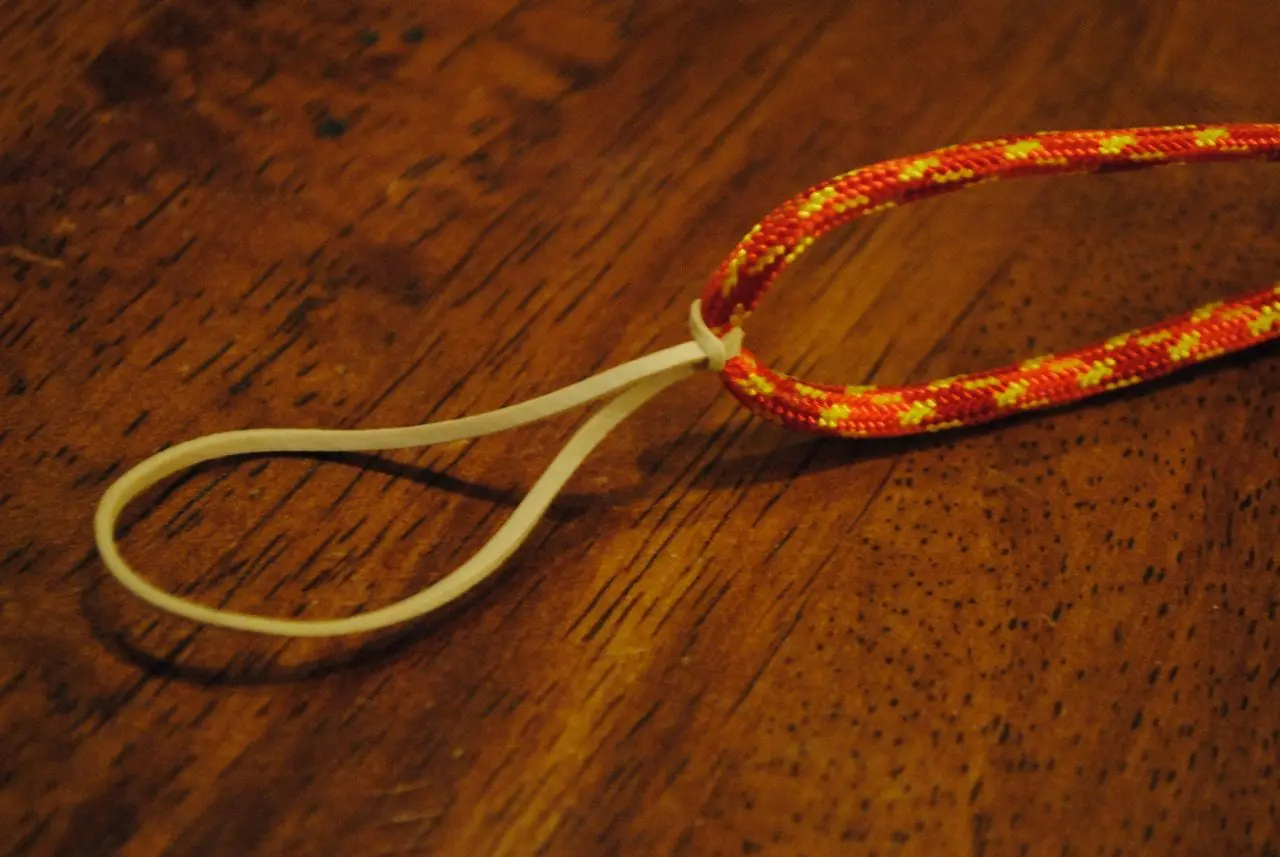
Fold your paracord into two perfect halves and mark the halfway point somehow. Most people will tie a rubber band or string to the spot, but you could just as easily mark it with permanent marker or anything else that’s visible.
- Secure the Paracord to itself with a Lanyard Knot
The steps for how to tie a lanyard knot are a little complicated, so rather than trying to walk you through the process with writing, you’re much better off following this short video:
- Adjust Loop as Needed for Length and Positioning
After you have tied the lanyard knot but before you tighten it completely, your halfway mark will probably need a little adjusting. Additionally, make sure that your loop is about two inches long. Once it’s size and position are correct, tighten the paracord lanyard knot and remove the halfway mark.
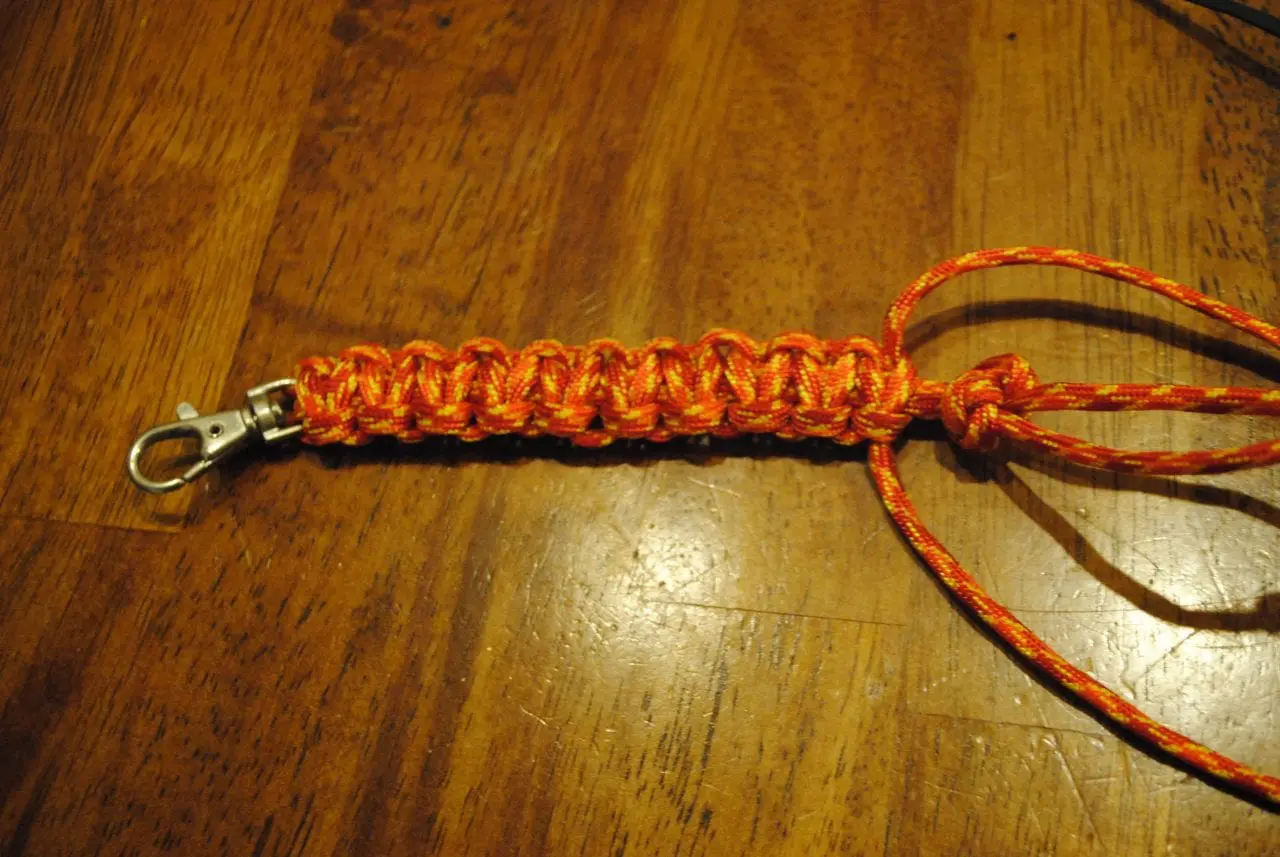
- Set the Length of the Lanyard
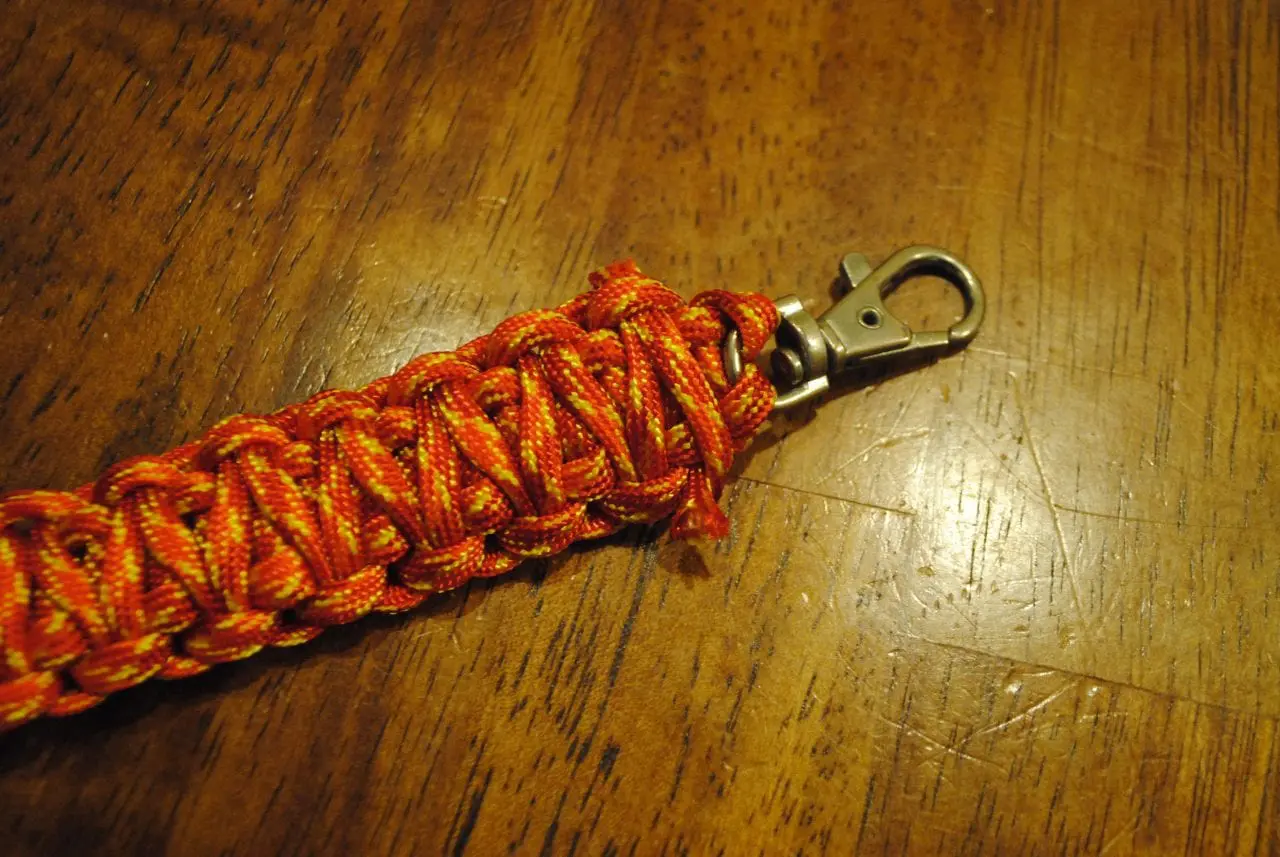
Take the two free ends opposite the lanyard knot and run them through whatever clip or loop you’re going to use to attach the lanyard to things. If the clip is wide enough, looping it through a second time will make the lanyard feel more secure overall but is entirely optional. Now, pull the two ends until there is about five inches between the lanyard knot and the clip.

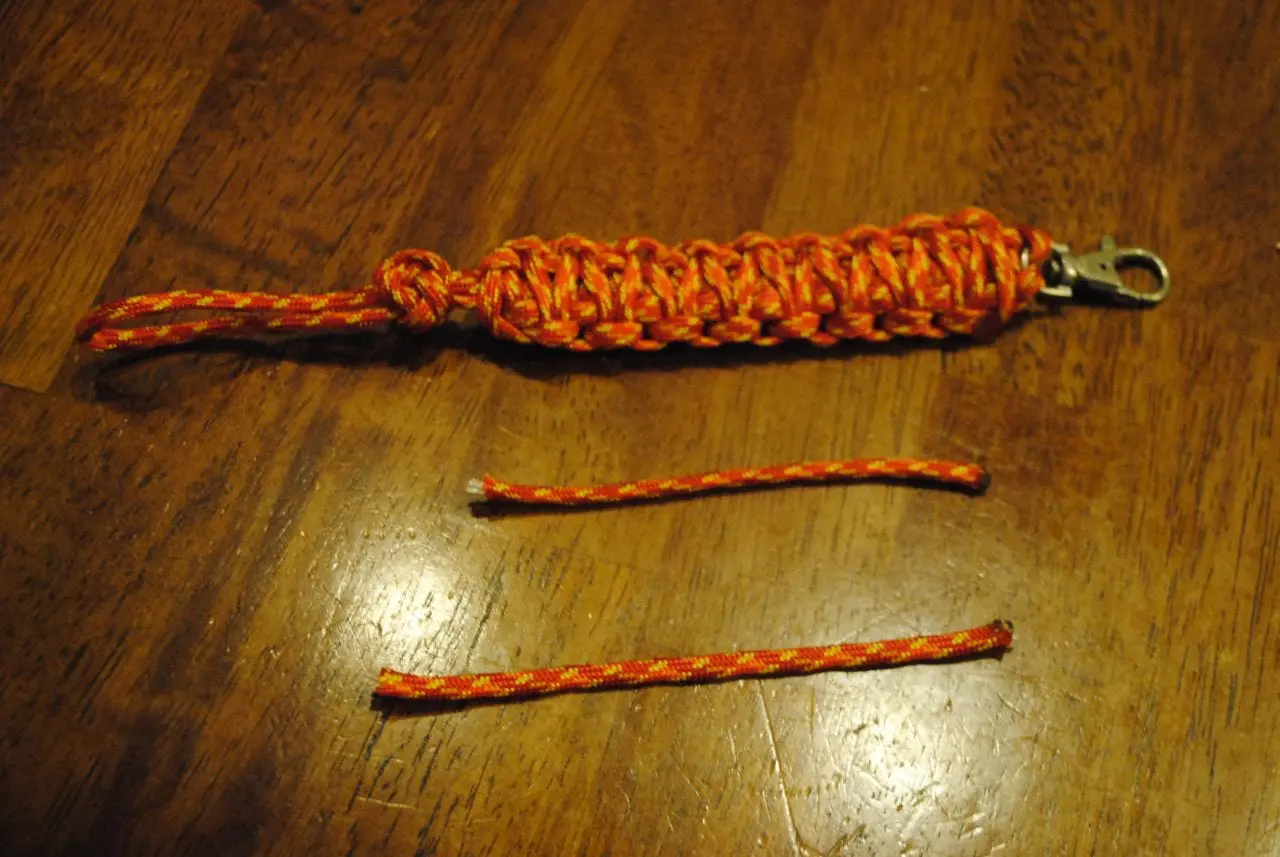
- Weave the Paracord
Beginning from the loop, weave a cobra stitch until you’re just about at the lanyard knot. From there, weave over the cobra stitch the opposite direction until it’s back at the loop. This weave is called a King Cobra pattern. If you’re unsure of how to do this pattern, the following video offers a great tutorial - you’ll want to skip to minute 3:
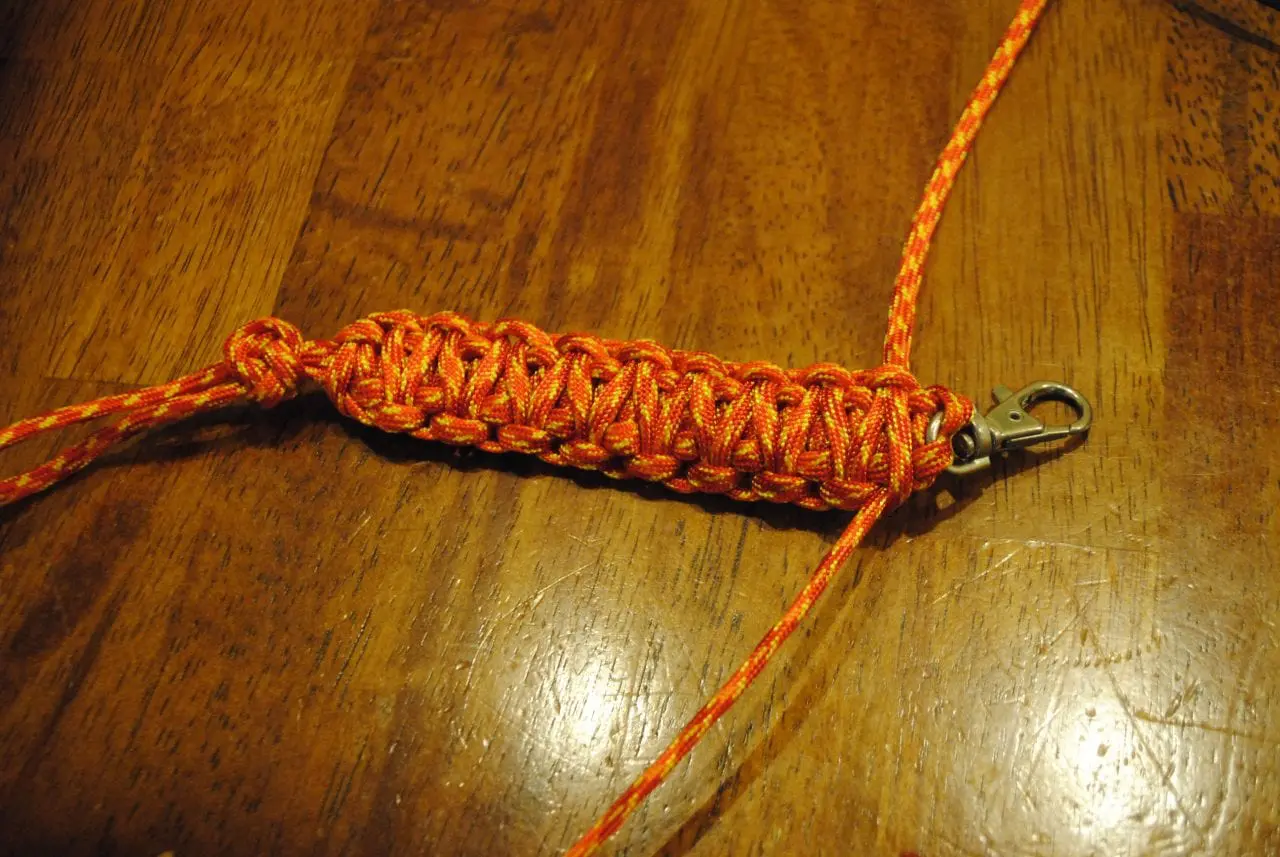
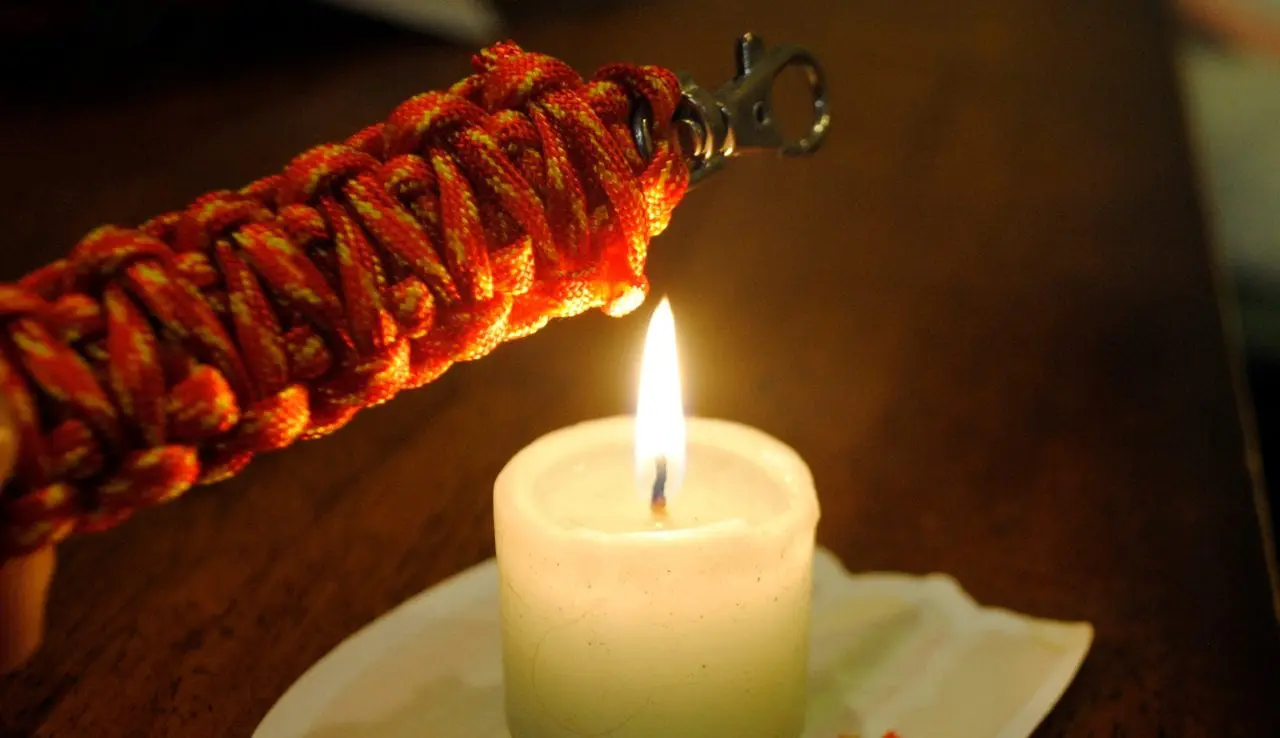
- Cut ‘n’ Melt
Cut off any loose paracord near the clip and melt the ends by holding them close to a lighter or candle flame for a moment.
- Enjoy Your Paracord Lanyard!
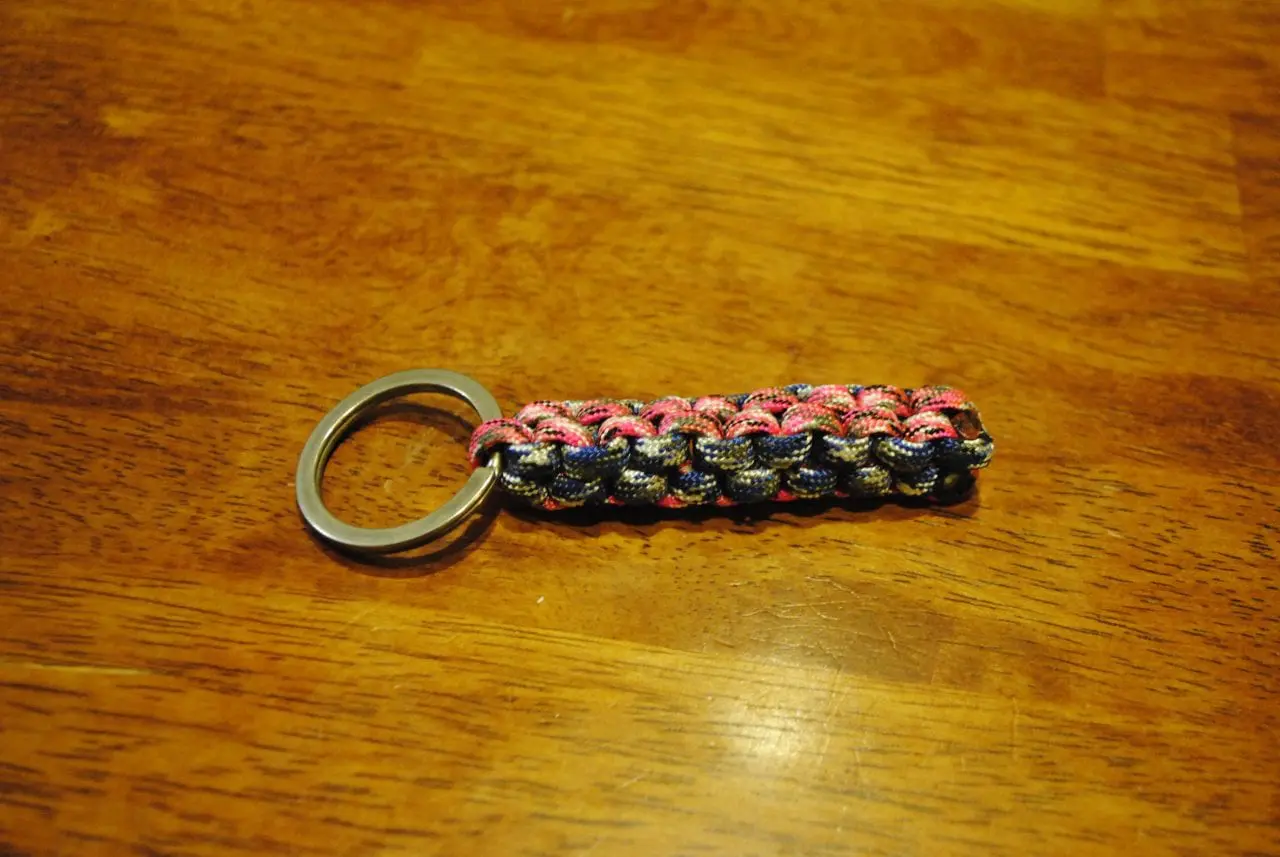
Attach it wherever you might need to secure something like your keys (see our paracord keychain tutorial), a knife or any other object that might be easily lost when living the life as part of the Ready Tribe.