
How to Make a Paracord Handle on a Skeleton Knife

In this short video from Black Scout Tutorials, you'll learn how to wrap a Paracord knife handle. The knife used in the video -- KnivesOfAlaska Xtreme Series Model V -- is a Skeleton knife made to be wrapped this way. You can pick up the knife at Amazon, or in some well assorted outdoor stores.
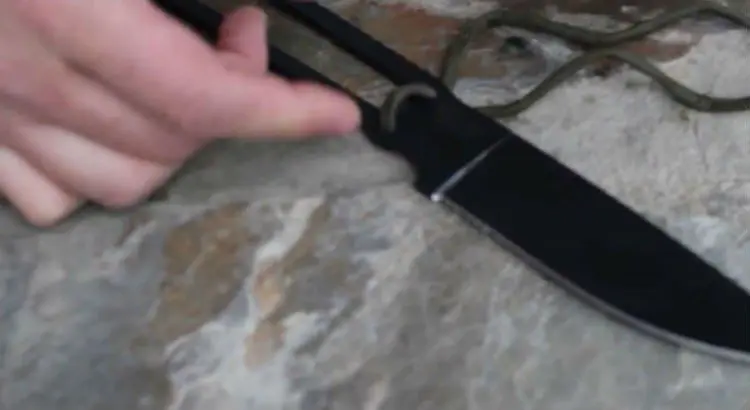
These types of knives are light, strong, and the paracord gives it a comfortable grip in all conditions. They're also great for survival, as the paracord can be untied and used for other needs if you have to.
You don't necessarily need this particular knife, but you will need a skeleton knife -- meaning a knife that's hollowed out in the middle of the grip. If you're not familiar with the different kinds of knifes, we've written about how to find a good survival knife here.
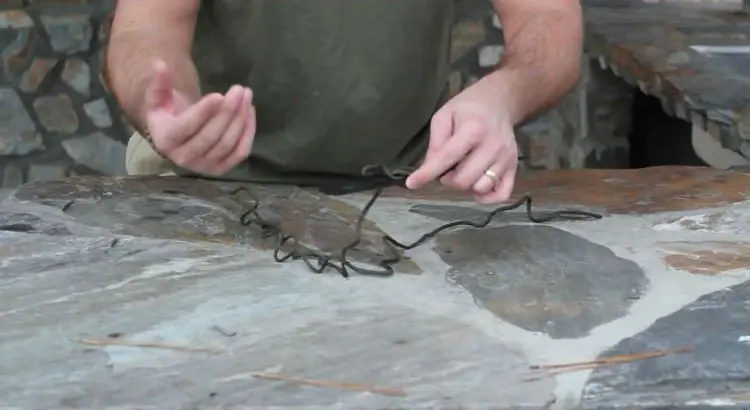
Step 1: How much paracord is needed?
To quickly determine how much paracord you need, the best way is to just wrap it quickly around the knife handle and leave about 6 inches at the bottom.
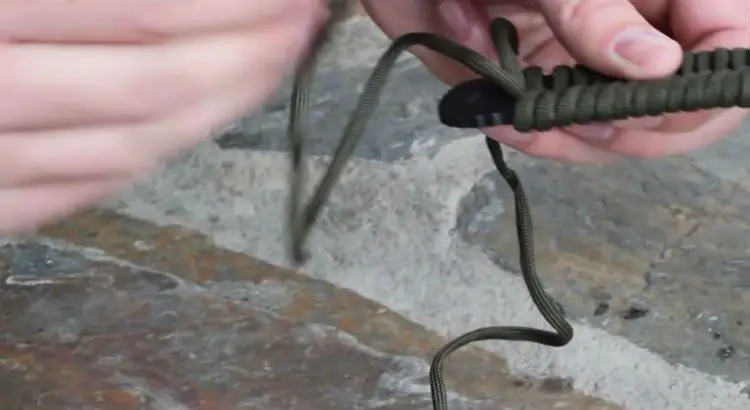
Step 2: Run the cord through the top of the knife
Like I mentioned above, this knife is already prepared for a paracord weave, with two holes at the top below the blade. If you don't have these, you can wrap it around the top part, but it's a bit harder to get it to stick.
Make sure you have equal amounts of paracord on either side, once you've started the weaving, you can't really adjust this, and you'll ahve to undo it all -- so do it right, do it once.
Step 3: Weave the paracord through the center section
Now, what you want to do is to run the pieces of paracord, through the center of the knife and around, much like how you lace shoes. Once you've done one, do the other, and keep alternating all the way down to the butt of the knife.
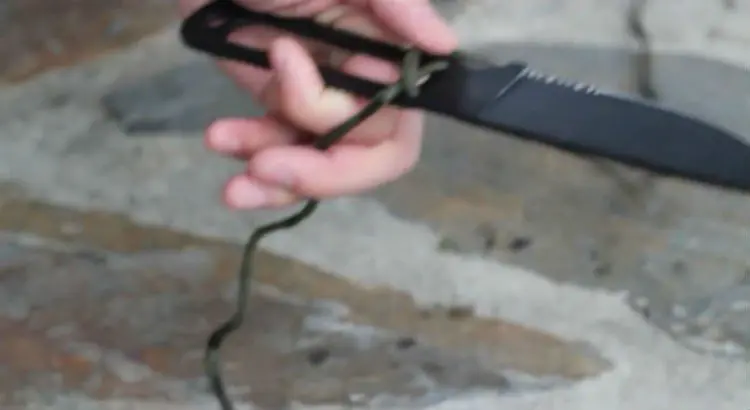
Step 4: Tie it up
Once you tightly weaved the knife, run both of the paracord ends through the center, so they meet up. Run one of them, it doesn't matter which one, through the hole at the end, and tie it up tightly.
If you've done it correctly (it might take a few tries to get it right the first time), you should have something resembling the picture below.
A video guide
Thanks to BlackScout tutorials for the video.