DIY: How to Make a Super Simple Penny Can Stove

In this article we'll have a look at how you can build a simple penny can stove. This is an inexpensive DIY project you can do in less than an hour.
A penny stove like this can be used for cooking food or water, or as a heat source, and it can be re-used multiple times.
A big thank you to SensiblePrepper for the video.
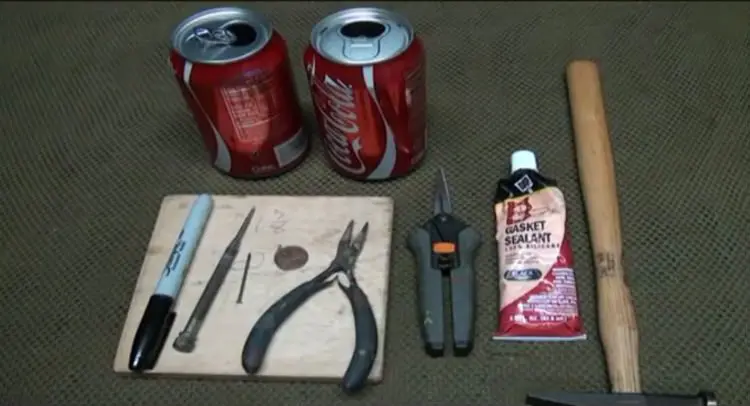
First: What you need to get started
- Two aluminum cans
- Scissors to cut the cans
- A hammer
- A nail or punch to puncture the cans
- Sanding block or file
- A marker
- Fiberglass insulation (the foam looking stuff you would use in your attic)
- Two surfaces to mark your cans (can be two blocks of wood, books or magazines). I recommend to have at least one block of wood, so you can also use it to rest the cans when cutting them.
- Gasket sealant (heat resistant). In this video silicon based gasket sealant is used, but there are plenty to choose from.
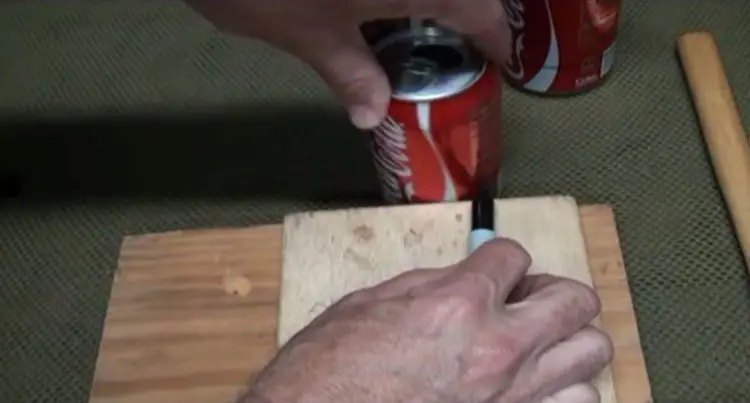
Step #1 Marking and cutting the cans
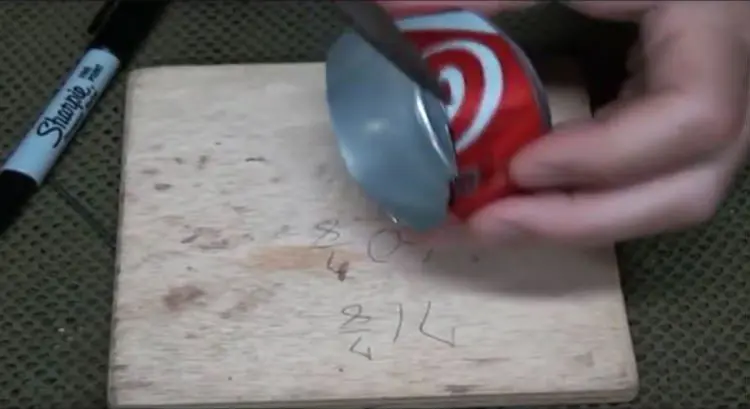
The first thing you'd want to do is to mark where you're going to cut the cans. Use the block of wood as a level and mark the first can about an inch off the bottom. Rest the marker on the block of wood and rotate the can to make an even line.
Do the same for the second can, but this time add another block of wood, or a book, to increase the height.
Punch a hole in one of the cans, well above your cutting line, and start cutting off the bottom part. Try to get as close to the line as possible, and keep the cut as even as you can, without warping or denting the can.
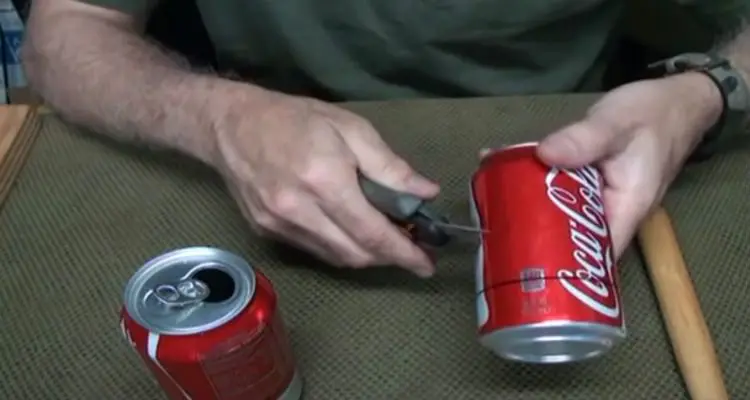
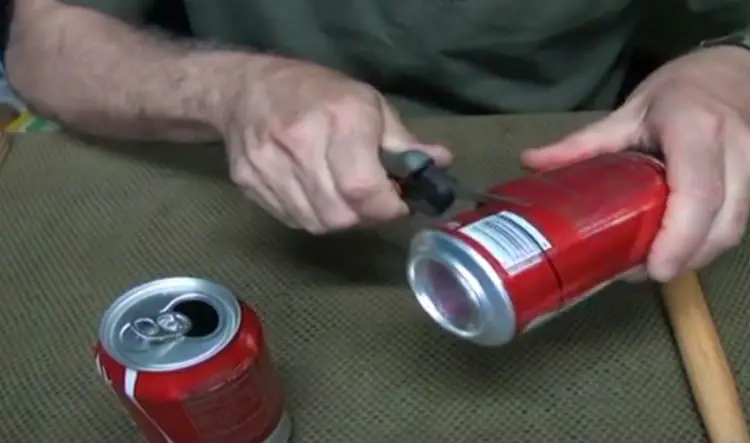
Repeat for the second can, and discard the top parts.
Use the file or sanding block to trim out the sharp edges of the cans.
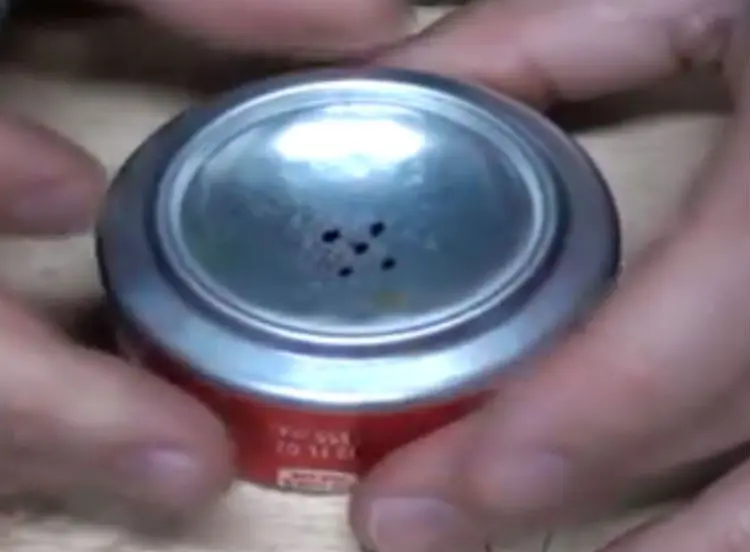
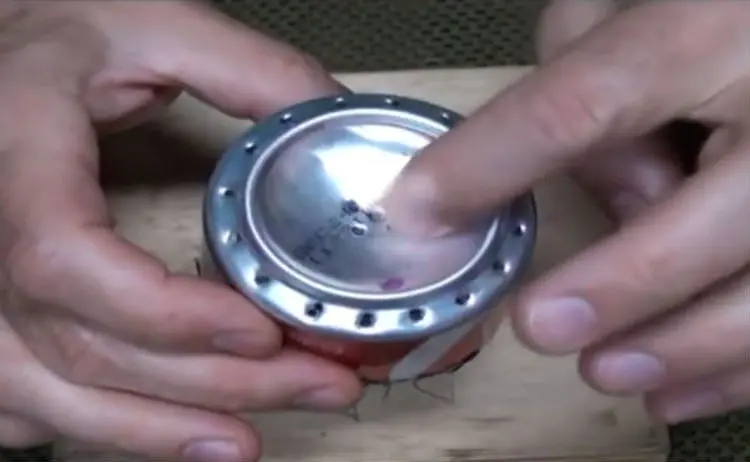
Step #2 Make the ventilation holes
Take the larger can and turn it upside down. Use the sharpie marker to make a hole right in the center of underside. Then mark 4 other holes around this. Don't make the spacing too big; you want to be able to cover all of these with a penny.
Start marking the outside rim. It's easiest to do this in halves, then quarters and eights. You should end up having 16 marks evenly spaced along the edge of the can.
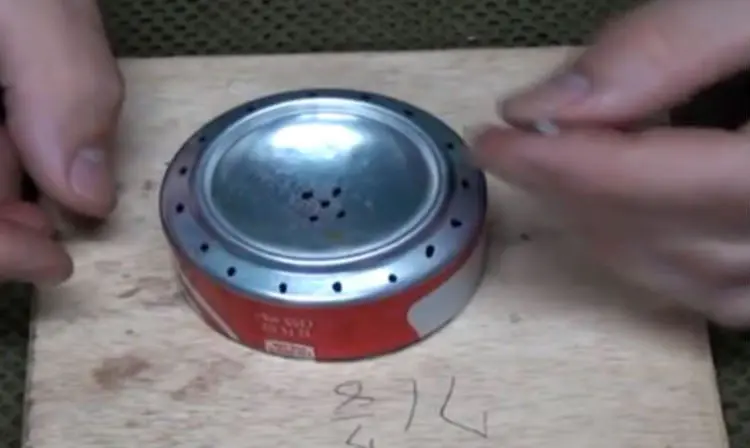
Use the hammer and a nail, or a punch, and puncture the can at the marks. Be careful not to crush or warp the can when you're hitting it with the hammer.
These holes will be the jets of the burner, make sure you're not making them too large, because the bigger the holes the faster the alcohol will burn.
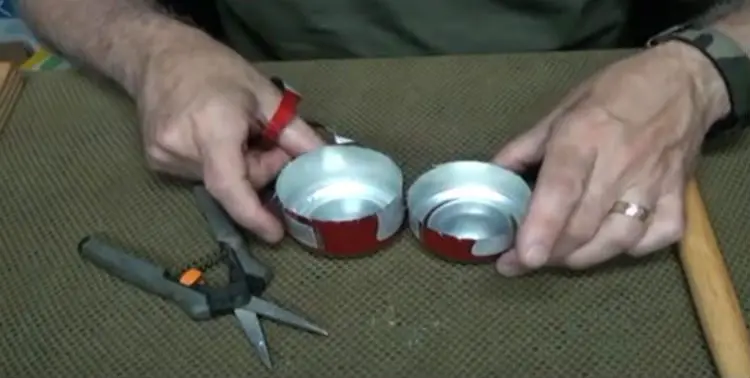
Step #3 Fitting the two ends together
Take a pair of needle-nose pliers and carefully bend the edges of the shorter end. The two ends are of the same diameter, so in order to fit them together with the shorter end inside the longer, you have to bend the edges.
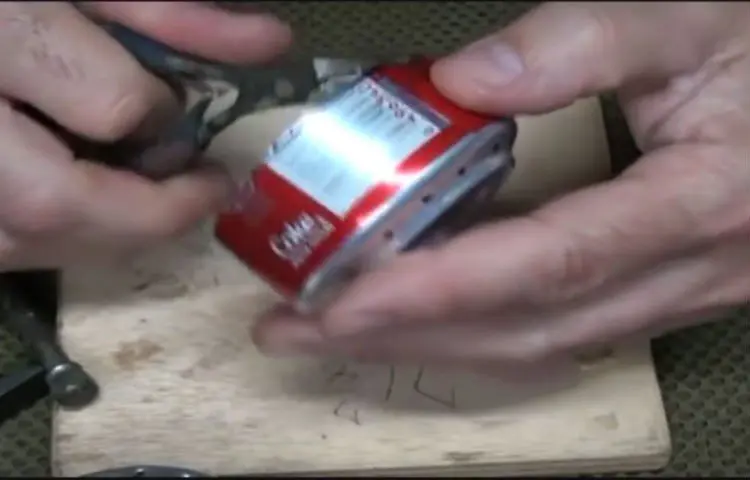
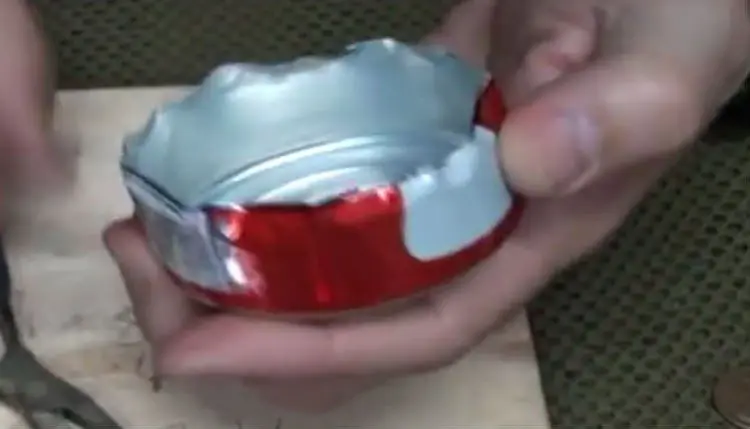
Now you should have two ends that fit together. Before doing so, pack the fiberglass inside the longer end. This will be the filler that absorbs the alcohol.
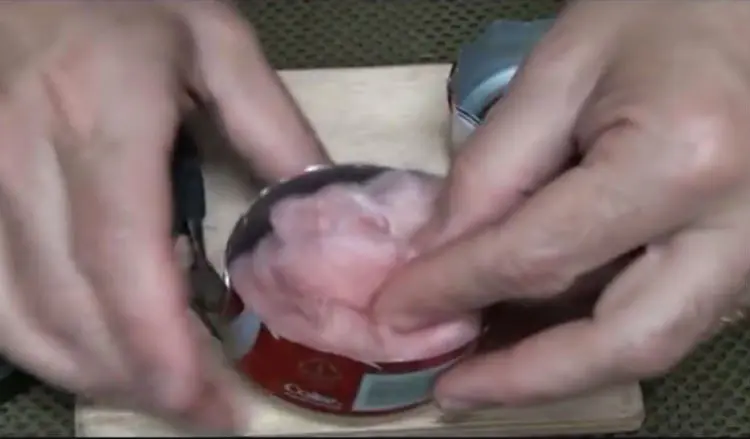
Push the ends together carefully. The less you warp the cans, the better it will seal -- and the less sealant you have to use.
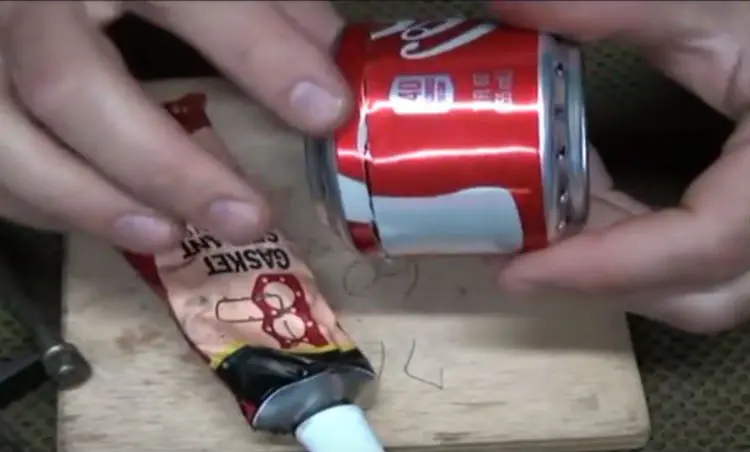
Clean any jagged edges with the file, so the sealant can adhere better to the edges.
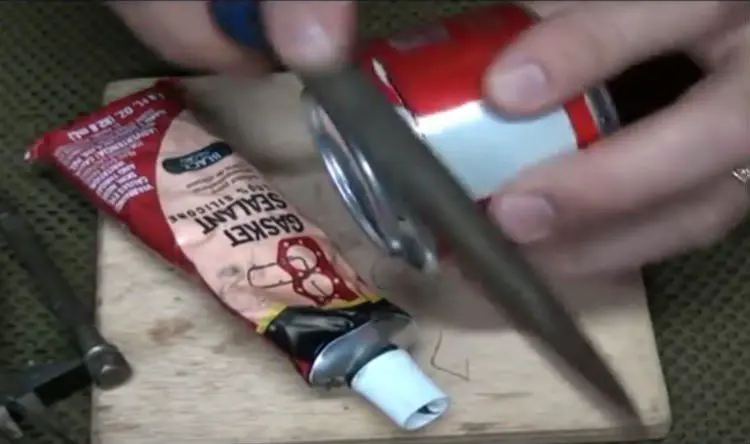
Spread sealant along the edge, and make sure it's all covered. You want to seal the crevice between the two ends.
You will now have to wait 24 hours before continuing.
Step #4 Fueling it
To fuel the stove, you can use denatured alcohol, rubbing alcohol, HEET (alcohol for your cars fuel lines to prevent freezing) or similar.
Fill the stove through the center holes, and let it drain down into the chamber.
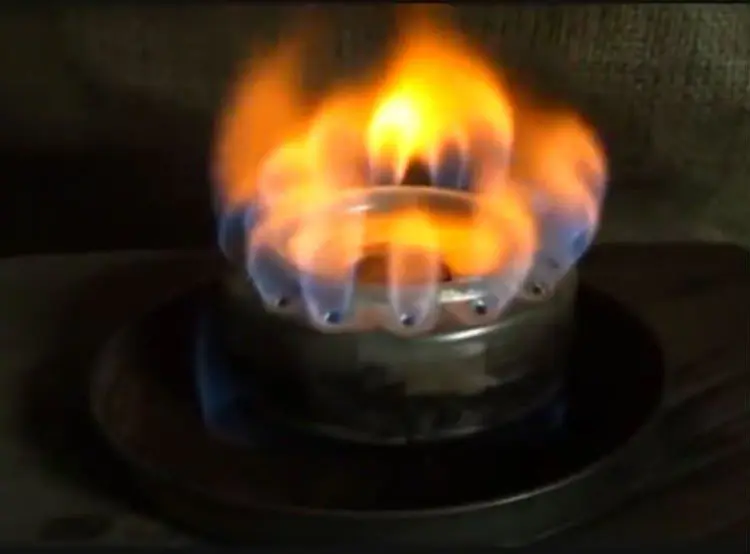
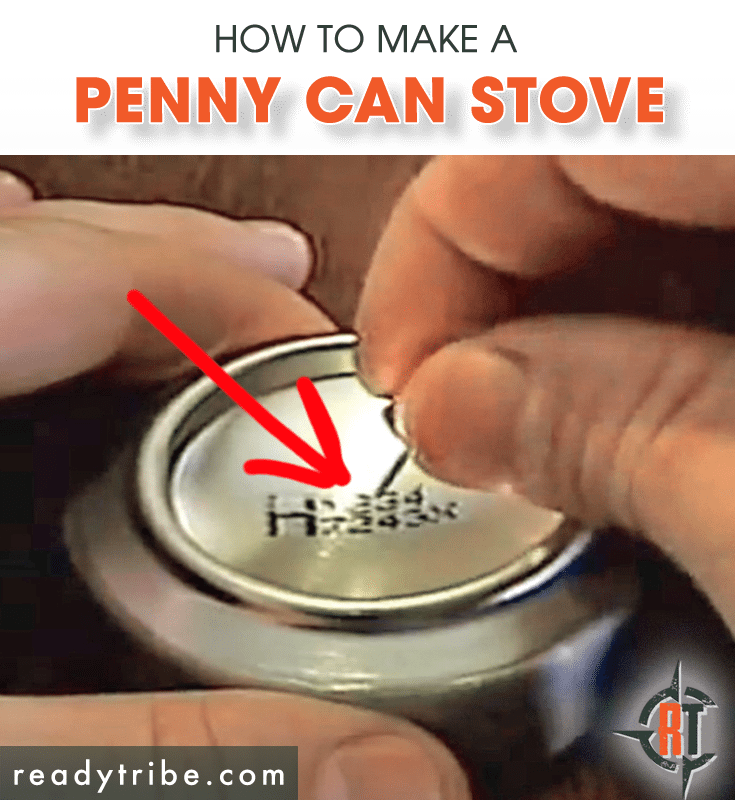
Light up the stove, and once it's burning, place a penny in the center to cover the 5 holes.
You now have a fully working portable penny stove!